Can You Use a Safety Razor in the Shower? (With Practical Advice)
For those looking to be more efficient while getting ready in the morning, shaving in the shower promises to help save some time but is it a good idea?
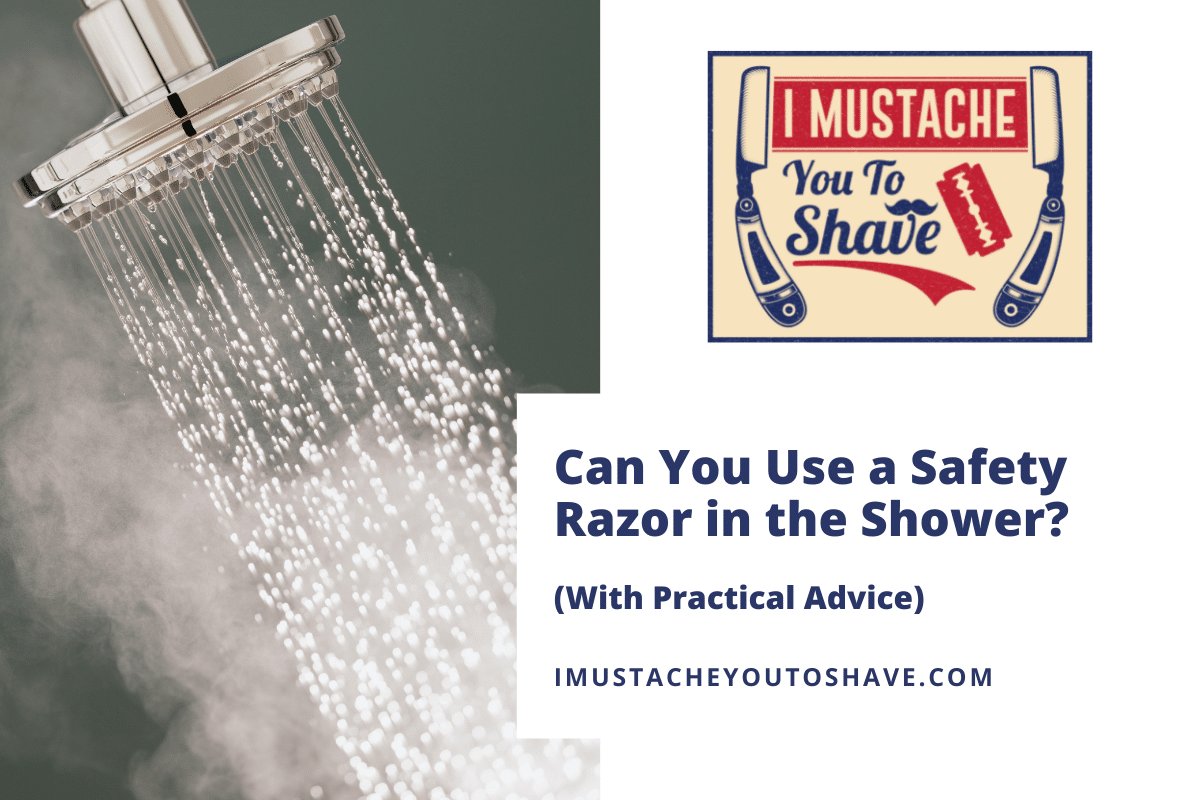
Using a safety razor in the shower is a safe and convenient practice. The hot water and steam created in the shower are excellent elements that aid in comfortable safety razor shaving. However, special care should be taken to ensure that your safety razor and blades do not rust in between shaves and that you are using the right accessories and technique.
If you want to learn how to shave with a safety razor in the shower from start to finish, keep reading!
Can you shave in the shower with a safety razor?
Shaving in the shower with a safety razor is a common practice today. Our lives are so busy that multitasking grooming habits can be a big time saver. Shaving in the shower also streamlines shave clean-up.
Many men report shaving in the shower either in the morning or at night, simply for convenience. In fact, some men prefer shaving in the shower so much so that they rarely or never shave at the sink.
However, there are some important considerations when taking your shave game into the shower. The moisture and humidity in your shower can wreak havoc on your safety razor blades. Grime and gunk can accumulate and make your blade a health hazard. Rust can build up and dull your blades quickly.
Fun fact: Did you know the first modern shower was invented by Englishman William Feetham in 1767? However, the Greeks used a crude version by simply spraying people with water.
How to shave in the shower with a safety razor
Did you know that the average man spends 900 hours shaving in his lifetime? The majority (84%) shave over the sink, while only 15% shave in the shower. If you want to free up some time, let the shower do some of the prep work for you.
Here are the steps and best practices for shaving in the shower with a safety razor:
- Choosing a safety razor
- Choosing the blades
- Preparing the shower
- Preparing your face & neck
- Shaving your beard
- Protecting your skin
- Cleaning your razor
- Storing your razor
- Maintaining your razor
Let’s take a look at each of these one-by-one!
Step 1: Choosing a safety razor
Choosing the perfect safety razor can take a little trial and error. They come in so many different styles, weights, and price points.
Since you are only changing out the blades, you may decide to use a safety razor handle passed down from your dad, grandad, or another ancestor.
How cool is that?
If you are looking to buy new, safety razors can be found in abundance at online retailers like Amazon and specialty grooming shops. The razor I always recommend to friends and family is the Merkur 34C as it is a fairly mild and forgiving safety razor that will last a long time when properly cared for and it has been highly reviewed by shavers for years and years.
Check out the Merkur 34C here!
Safety razors are customizable too. Handle lengths can come in short to extra-long. Many are adjustable. They also come in a variety of weights and finishes. There is sure to be a perfect safety razor waiting for you to use in the shower.
Step 2: Choosing the blades
Choosing the perfect blade for your razor is just as important as the safety razor itself. You can choose a single edge blade or a more cost-effective double edge blade.
Blades come in a variety of metal choices such as stainless steel, platinum, and chrome. Some blades are thin and flexible. Some are heavy-duty.
Again, the choice of blade is up to your own preferences. Do you prefer a super sharp blade? Is your hair coarse or fine? Do you have sensitive skin? There’s a blade out there for your unique situation.
Personally, I tend to prefer something like a Persona blade for new shavers rather than something like a Feather. With the Persona, I feel as though I get a more consistent shave overall. Plus, they are cheaper! Check them out here.
Step 3: Preparing the shower
In order to get the most out of your safety razor shave, preparing the shower is extremely important.
A fogless shower mirror is a necessity. No one likes to walk away from a shave with nicks and cuts. Looking in a mirror while you shave can help eliminate this problem. You can visually see the areas you’ve already passed over. Fewer passes equal less skin irritation.
If you are a glasses wearer and your glasses fog up in the shower, you may want to consider a magnifying mirror.
However, a mirror is only part of the shower prep equation. Great lighting in the shower is also a must. A well-lit shower stall exposes all of the fine hairs you are attempting to remove. If your shower lighting needs improvement, a lighted shower mirror will come to the rescue.
Step 4: Preparing your face & neck
Shaving with a safety razor is a luxury, so make sure to prepare your face and neck for the experience.
The steam from the shower will help soften your beard, but a supple cream is also recommended. The rich lather will give the safety razor a smooth surface to slide over. Not to mention protection and moisturization of even the most sensitive skin. According to a Pubmed survey study of dermatologists on the prevalence of sensitive skin in men, “over 90% of responders agreed that the selection of shaving products was important for men with sensitive skin”.
To take the shower shave to the next level, you may want to invest in a badger beard brush like this one. Are there better brushes out there? Yes. But, this is a fantastically well-reviewed starter brush that will give you a great shaving experience!
The badger bristles of a brush will help whip up the cream to make a pampering lather. Plus the bristles add an exfoliation benefit. Bye-bye dead skin!
Fun fact: Badger bristle shaving brushes made their grooming debut in France. Badgers are considered pests in China, so this is the current source of most bristles.
Step 5: Shaving your beard
There are some important procedures to follow when shaving your beard with a safety razor. Angles, grain, and pressure produce a custom shower shave.
Since many safety razors don’t pivot like disposables, you can choose the shaving angle that gives the contours of your face the best shave. Beginners may want to start with a suggested 30-degree angle. As you become more experienced, you can experiment with new angles.
The first pass of the razor should go with the grain. In other words, shave in the direction the hair is growing. Going against the grain can irritate the skin.
Just like snowflakes, every face and every beard is different. You can control the hand pressure or aggressiveness of your shave. You are in control with a safety razor shower shave.
Fun fact: Did you know that the term “against the grain” actually refers to wood grain? William Shakespeare is actually attributed to using this idiom for the first time in his play Coriolanus.
Step 6: Protecting your skin
The shower steam has opened up your pores and made your skin prime for protection. Now it’s time to rinse with cold water to close up those pores and protect the skin from harmful bacteria.
After your shower is the perfect time to apply an aftershave oil or balm. This step will protect and nourish your skin until time for your next shower shave.
Step 7: Cleaning your razor
Cleaning your safety razor is non-negotiable. If you are making the jump from a disposable razor, you may be used to just capping and leaving your razor in the shower.
This is a no-no with a safety razor.
After your shower shave, run your blade under clean water to wash off all of the hair, dead skin, and soap. Next, make sure to thoroughly pat dry with a clean, dry towel. This step will ensure you maintain a germ-free blade for your next shave.
By the way, I just published a complete guide to cleaning and sanitizing your safety razor if you want to check it out!
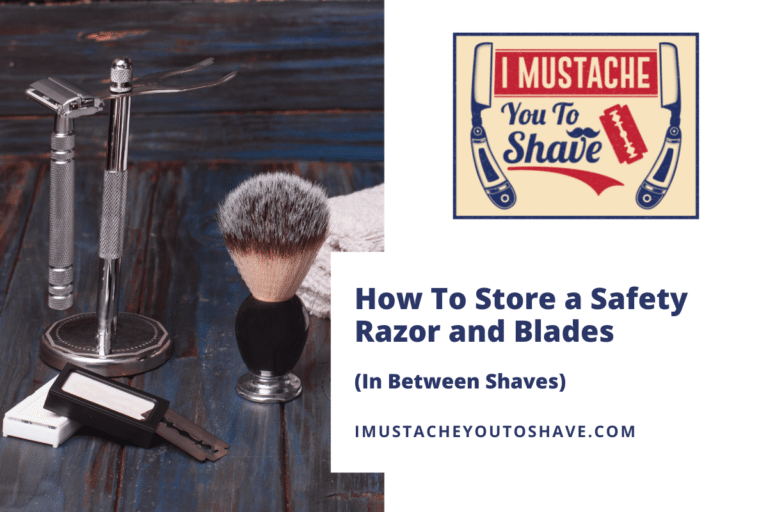
Step 8: Storing your razor
Storing your razor properly will prevent it from being affected by the dampness of the shower.
Water and humidity are the enemies of metal blades. Investing in a hanging safety razor stand will keep it off the damp tiles.
Viola!
A rust-free blade is ready for your next trip to the shower.
By the way, I have literally that exact same stand sitting next to my sink right now.
Step 9: Maintaining your razor
Maintaining your safety razor is an easy task if you have followed the above steps. To ensure you get the closest, smoothest shower shave EVERY TIME replace your blades often.
Is your hair very coarse? You may want to replace the blade after every shave. Is your hair superfine? You may find a replacement every 2-5 shaves is the perfect frequency.
After a couple of safety razor shower shaves, you will find the preferred maintenance schedule for YOUR desired results.
Using a safety razor in the shower has many benefits. If you haven’t tried it yet, jump in with both feet. The shower is the ideal location to take a mundane, shaving chore and turn it into a luxurious, daily treat.